Showing posts with label #techdeck Guitar Tech Workstation. Show all posts
Showing posts with label #techdeck Guitar Tech Workstation. Show all posts
#luthiersworkstation Luthier's Workshop tips and Multi-Adjustable Guitar repair Bench
GPS Raffle !
(See link for below details)
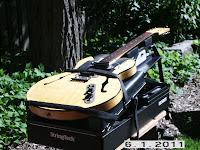
The natural light is amazing for this type of work.
The TechDeck is sitting on a typical B+D Workmate.
I envy those of you in warmer climates,
that can actually work outside year around !!
The TechDeck's design,
function and versatility, has eliminated
the need for vices, dial caliper posts,
arbour presses, vice grips,
or computer controlled
fret dressing machines.
All of your fret-work needs
in one multi-adjustable package.
Fret work and fret dressing
just got a whole lot easier.
TechDeck Order / Purchasing
Sales: 519 796 0332
info@techdeckworkstations.com
info@techdeckworkstations.com
Canada + Continental USA $60.00 Flat Rate Shipping
The following accessories are available for all TechDecks:
Extra V-Block $17. 50
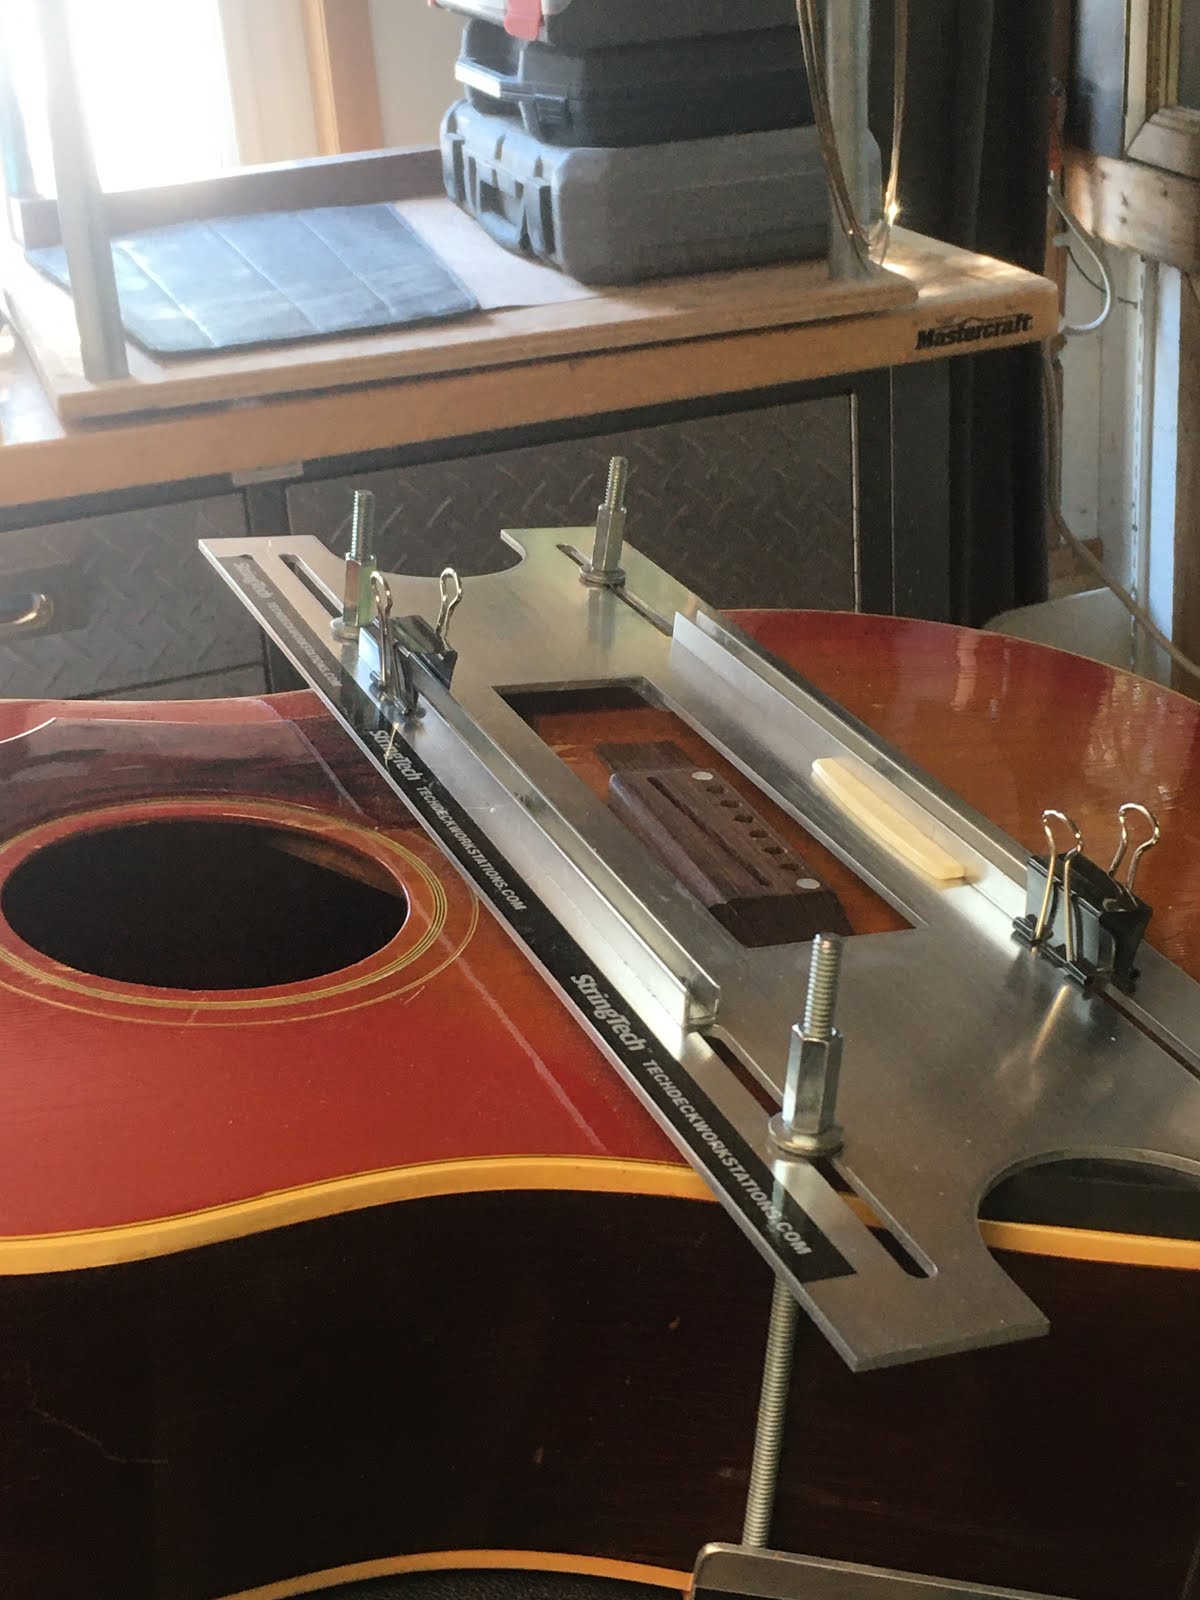
Bridge Slotting Jig $187. 50
Neck Surgery Kit $315.00
For International Customers:
Shipping the BSJ in the TechDeck carton,
can amount to quite a significant
savings in shipping costs.
I have been using 6 TechDecks
for my College Classes,
and use 2 daily,
in my home workshop.
"My shop's production has tripled."
This is one Gem of a Tool !
Great addition to repair the museum pieces ,
Fenders, Gibsons and Martins are all happy.
Regards,
Al Maynard
Pro Guitar Tech
Windsor, Nova Scotia
Canada
info@techdeckworkstations.com
Canada + Continental USA $60.00 Flat Rate Shipping
Fast Shipping ! 5 Business Days .
Hi Michael,
Thanks for the video link,
The TechDeck arrived yesterday, and I am very impressed with it already!
I put it to work straight away with a fret level and dress on a locally (factory) made Maton 325 dreadnought.
after a couple of views of the video I had it all set up with the guitar secured and the neck well supported, the level and dress came out perfect.
The job went very smoothly with so much less effort to level, crown and polish with the guitar so well held and supported.
The customer picked up his guitar today and was very pleased with the set up.
I will be adding a new bench for the TechDeck and setting up a designated repair area very soon, so will send you a pic when it is all set up.
No more putting away the guitar I'm building to repair or inspect a customers guitar.
Thanks for designing such a great tool, I think it will be invaluable to my business.
Regards,
Daniel Hoban
Nothcote, Australia
April 30th 2014
2 long V-blocks ( below ) for extra reach on those
long flexible electric bass necks
For the International customers,
shipping the BSJ in the TechDeck carton,
can amount to quite a significant
savings in shipping costs.
For those of you who are interested in the NSK;
it is shipped out separately, in it's own carton.
Hi Michael,
Thanks for the video link,
The TechDeck arrived yesterday, and I am very impressed with it already!
I put it to work straight away with a fret level and dress on a locally (factory) made Maton 325 dreadnought.
after a couple of views of the video I had it all set up with the guitar secured and the neck well supported, the level and dress came out perfect.
The job went very smoothly with so much less effort to level, crown and polish with the guitar so well held and supported.
The customer picked up his guitar today and was very pleased with the set up.
I will be adding a new bench for the TechDeck and setting up a designated repair area very soon, so will send you a pic when it is all set up.
No more putting away the guitar I'm building to repair or inspect a customers guitar.
Thanks for designing such a great tool, I think it will be invaluable to my business.
Regards,
Daniel Hoban
Nothcote, Australia
April 30th 2014
2 long V-blocks ( below ) for extra reach on those
long flexible electric bass necks
For the International customers,
shipping the BSJ in the TechDeck carton,
can amount to quite a significant
savings in shipping costs.
For those of you who are interested in the NSK;
it is shipped out separately, in it's own carton.
Hey Michael,
This TechDeck is great - it holds upright basses and I use it for
working on those beasts frequently.
I also like the fact that I can set it up on a table and walk 360
degrees around any instrument I'm working on.
Tomas Bouda
London, Ontario
Tomas completed the Level 1 and Level 2 Conestoga GRAD courses 7 years ago. In addition to his very impressive full time musician's career and teacher's work, he has his own workshop where working on upright basses he can share his specialty and passion with others.
If you check the drop down archive menu ( Nov 25th ) you will find a very detailed version ( below ) of this restoration job on the same model of guitar that I completed for Bruce Kirkaldy a couple of years ago.
The bridge was lifting on both sides ..... so I removed it for re-gluing.
If you blow up this picture you'll see the faint cross-hatching marks that were scribed into the top before this bridge was glued to the top.
This is a shot of all the various fasteners that were used. I will post the rest of the restoration as I proceed with it over the next week or so ...
Here we go ... the finished job.
In order to line up the intonation ..... the focal point on the saddle
needed to move towards the fingerboard ..... so .....
the rosewood/bone insert has allowed me
to correct the tuning inaccuracies and
line up the intonation perfectly.
The big wide original bridge slot
left tons of room for adjustment.
The insert is "press-fit" (no glue )
the rosewood/bone insert has allowed me
to correct the tuning inaccuracies and
line up the intonation perfectly.
The big wide original bridge slot
left tons of room for adjustment.
The insert is "press-fit" (no glue )
This whole job is completely reversible.
I left out the largest fasteners
( put them in a little baggie in the case ).
The fasteners under the pearl bridge dots
were re-installed,
when I re-glued the bridge
( hide glue ) to the top.
I left out the largest fasteners
( put them in a little baggie in the case ).
The fasteners under the pearl bridge dots
were re-installed,
when I re-glued the bridge
( hide glue ) to the top.
These are the final values for the compensated
"tusq"
nut just before final sanding.
These are the new frets and dressed fingerboard.
Voila ! ....
this guitar is now playing
perfectly in tune for the first time ....
with action as smooth as silk ...
even with the medium strings !
Hummingbird ( from Woodstock )
that I did this reversible conversion on last year.
Guitar Tech's Adjustable Workstation
This is a quilted maple top over-lay for an RG series body that I built for a customer from Cambridge. In order to edge glue these two thin panels, I sandwiched the wood between two sheets of tempered glass. This picture shows the "dry run" set up just before gluing.
The panels of wood veneer ( 3/16 " ) have a thin film of saran wrap above and below so that they don't adhere to the glass panels. The flip lock clamps "squeeze the maple plates flat" , the pipe clamps pull the edges together.
This Gibson "Reverse" Firebird
came up from Hamilton for a new nut,
fret dress and set-up.
After I had the neck screw fastener holes drilled and countersunk,
I rounded out and ramped down the heel before it went to the spray booth.
I rounded out and ramped down the heel before it went to the spray booth.
Wash coats of sanding sealer.
Final coats of sanding sealer
Shading lacquer coats.
The customer stood with Darcy in the spray booth
and guided him to this stage.
Darcy took it the rest of the way,
intensifying the red, yellow and orange transition.
Then the 12 - 14 top coats of clear go on before final rub-out.
Thanks Darcy ... you're The Man !!
Anyone interested in a custom finish can email me
and I'll put you in touch with Darcy.
At the customers request, this 45 degree relief
was cut into the back for a hide-away input jack.
| YouTube watch page | 790,893,891 |
| Embedded in external websites and apps | 29,404,463 |
| YouTube channel page | 2,343,570 |
This baritone 12-string had a "popped" cross-strut
.... just ahead of the bridge.
It took a bit of restructuring to strengthen the top
to withstand the string pressure .....
"without adding mass" to the soundboard.
Luthiers Workbench
Subscribe to:
Comments (Atom)


