


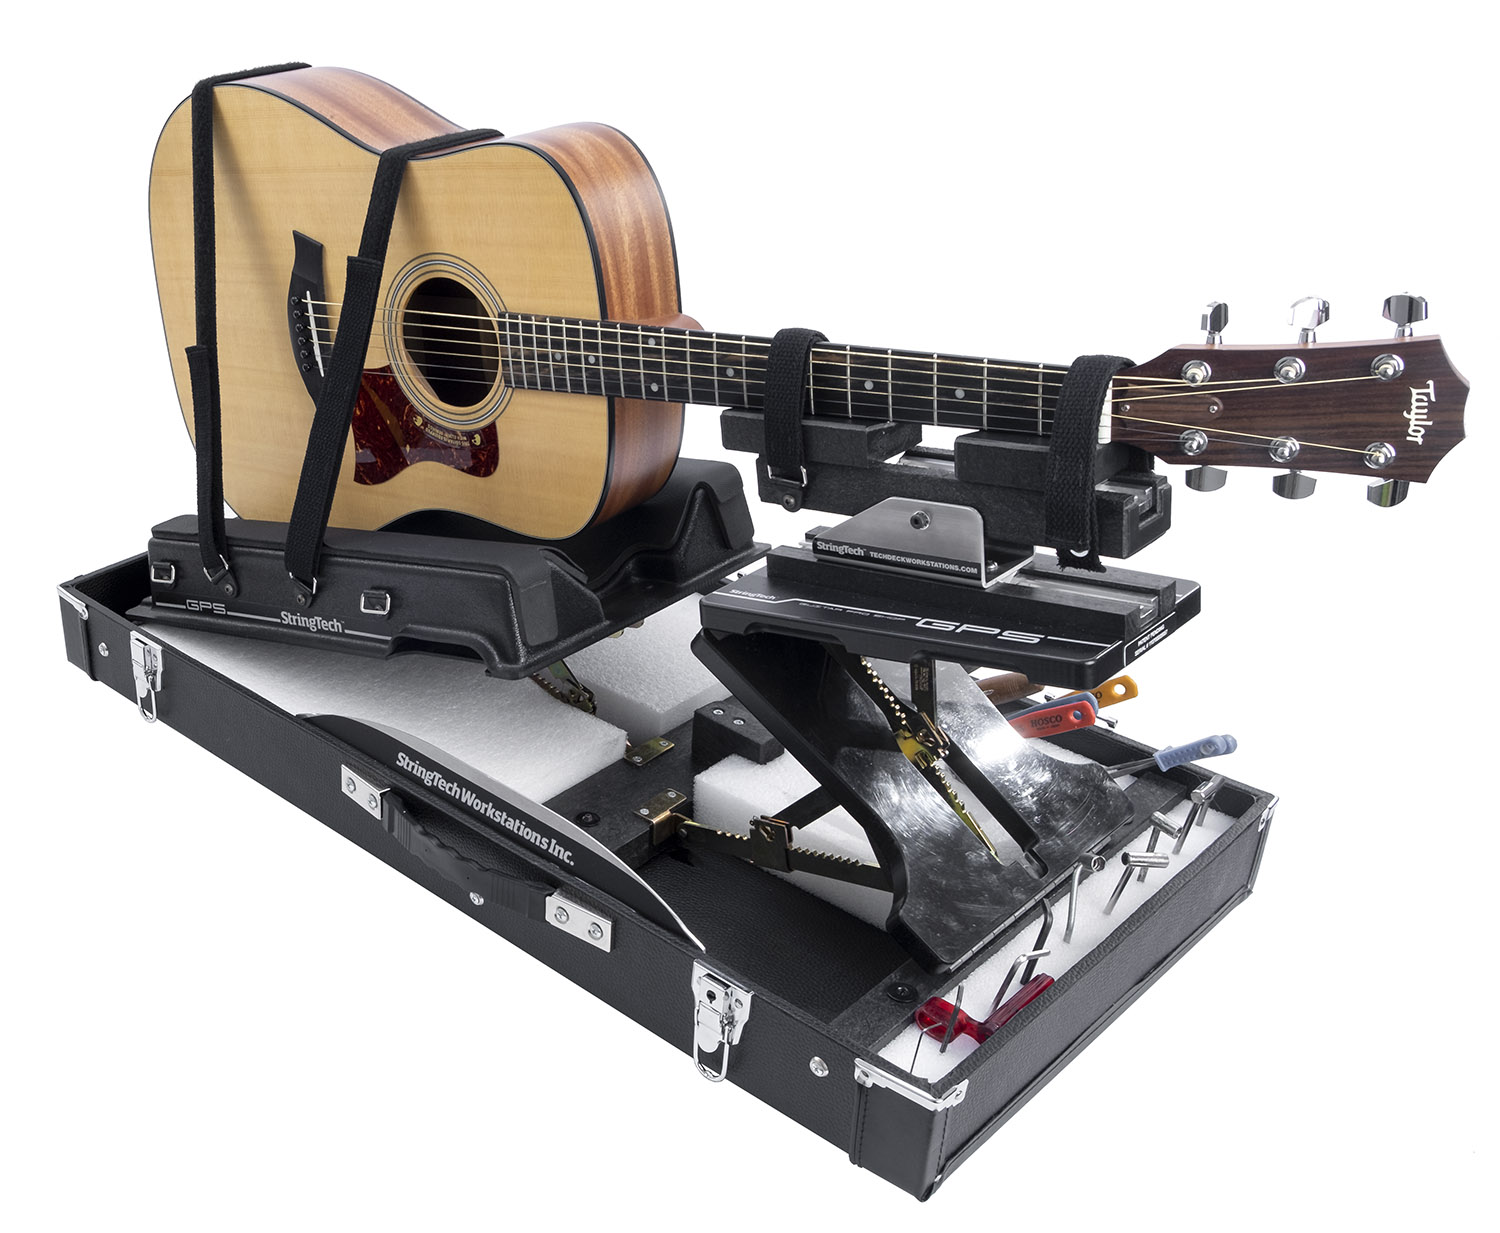


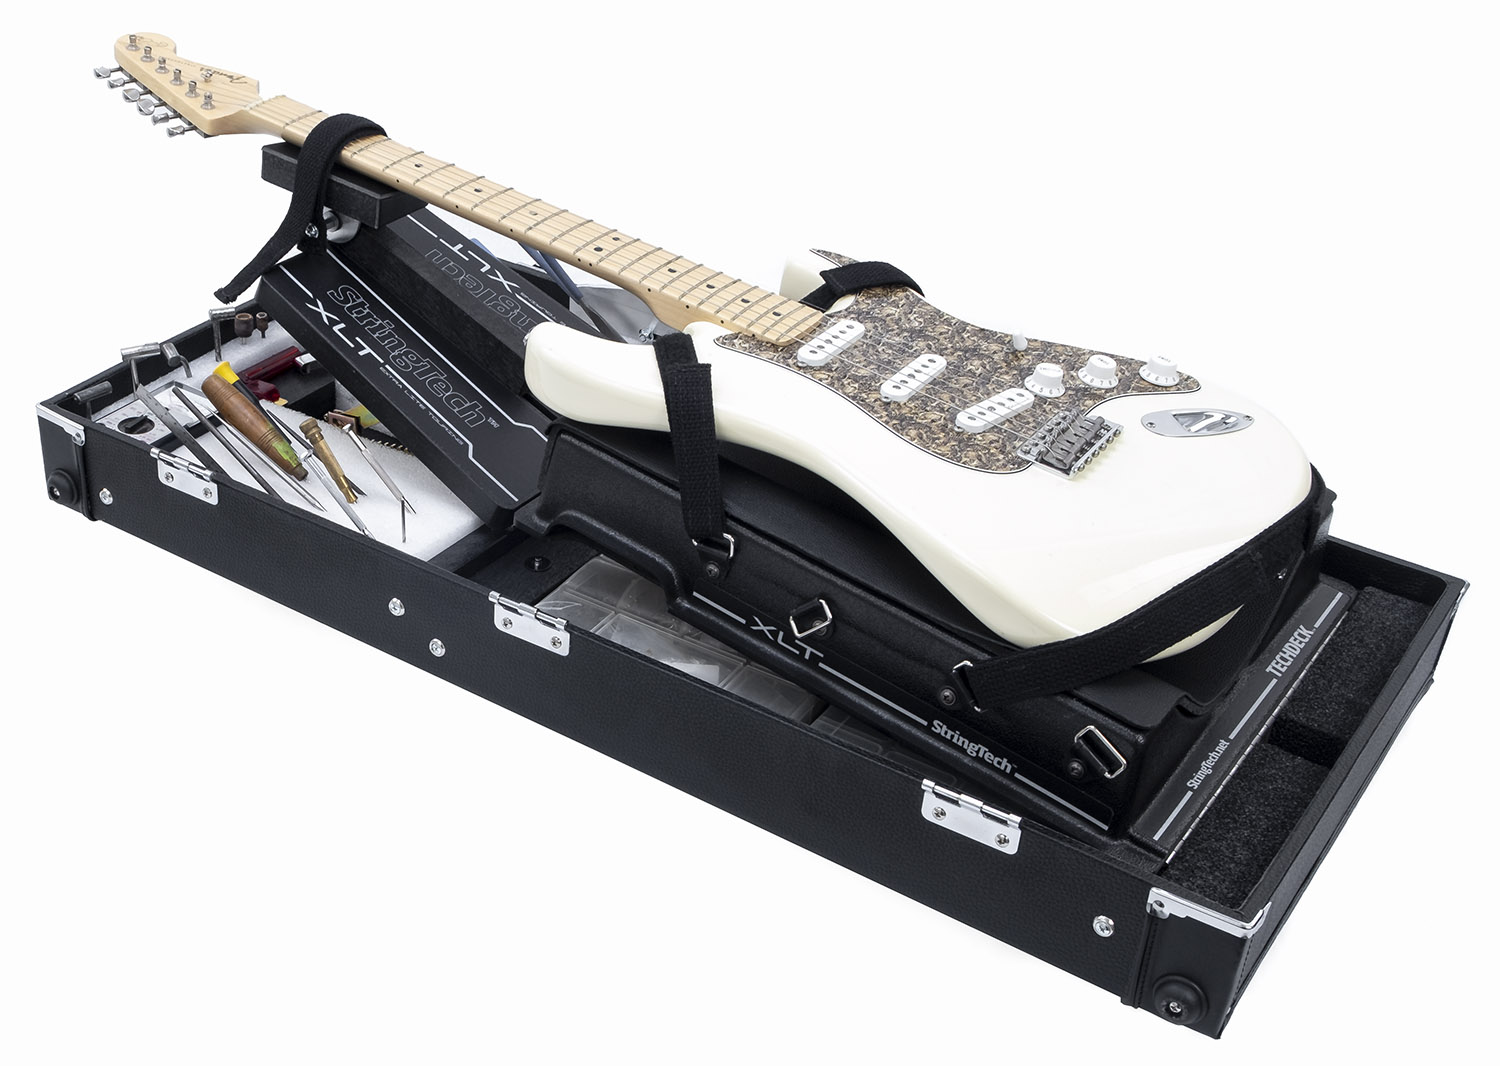
XLT TechDeck / GPS TechDeck


https://youtu.be/fsRll2ARnXs
Contact : stringtech.net
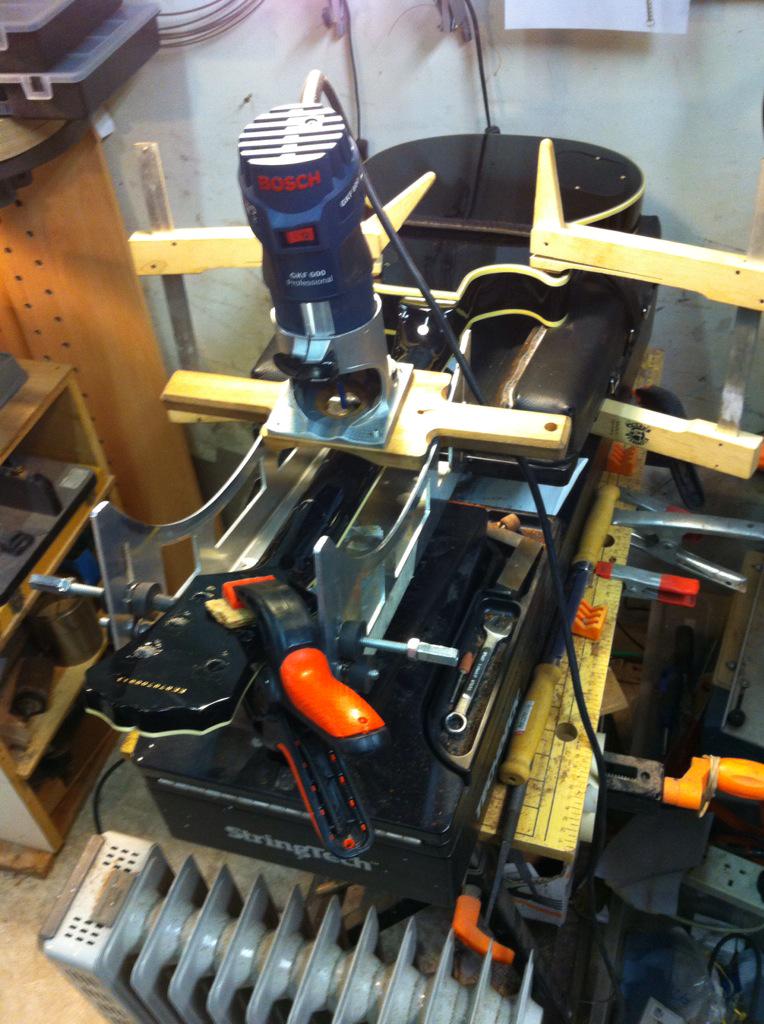
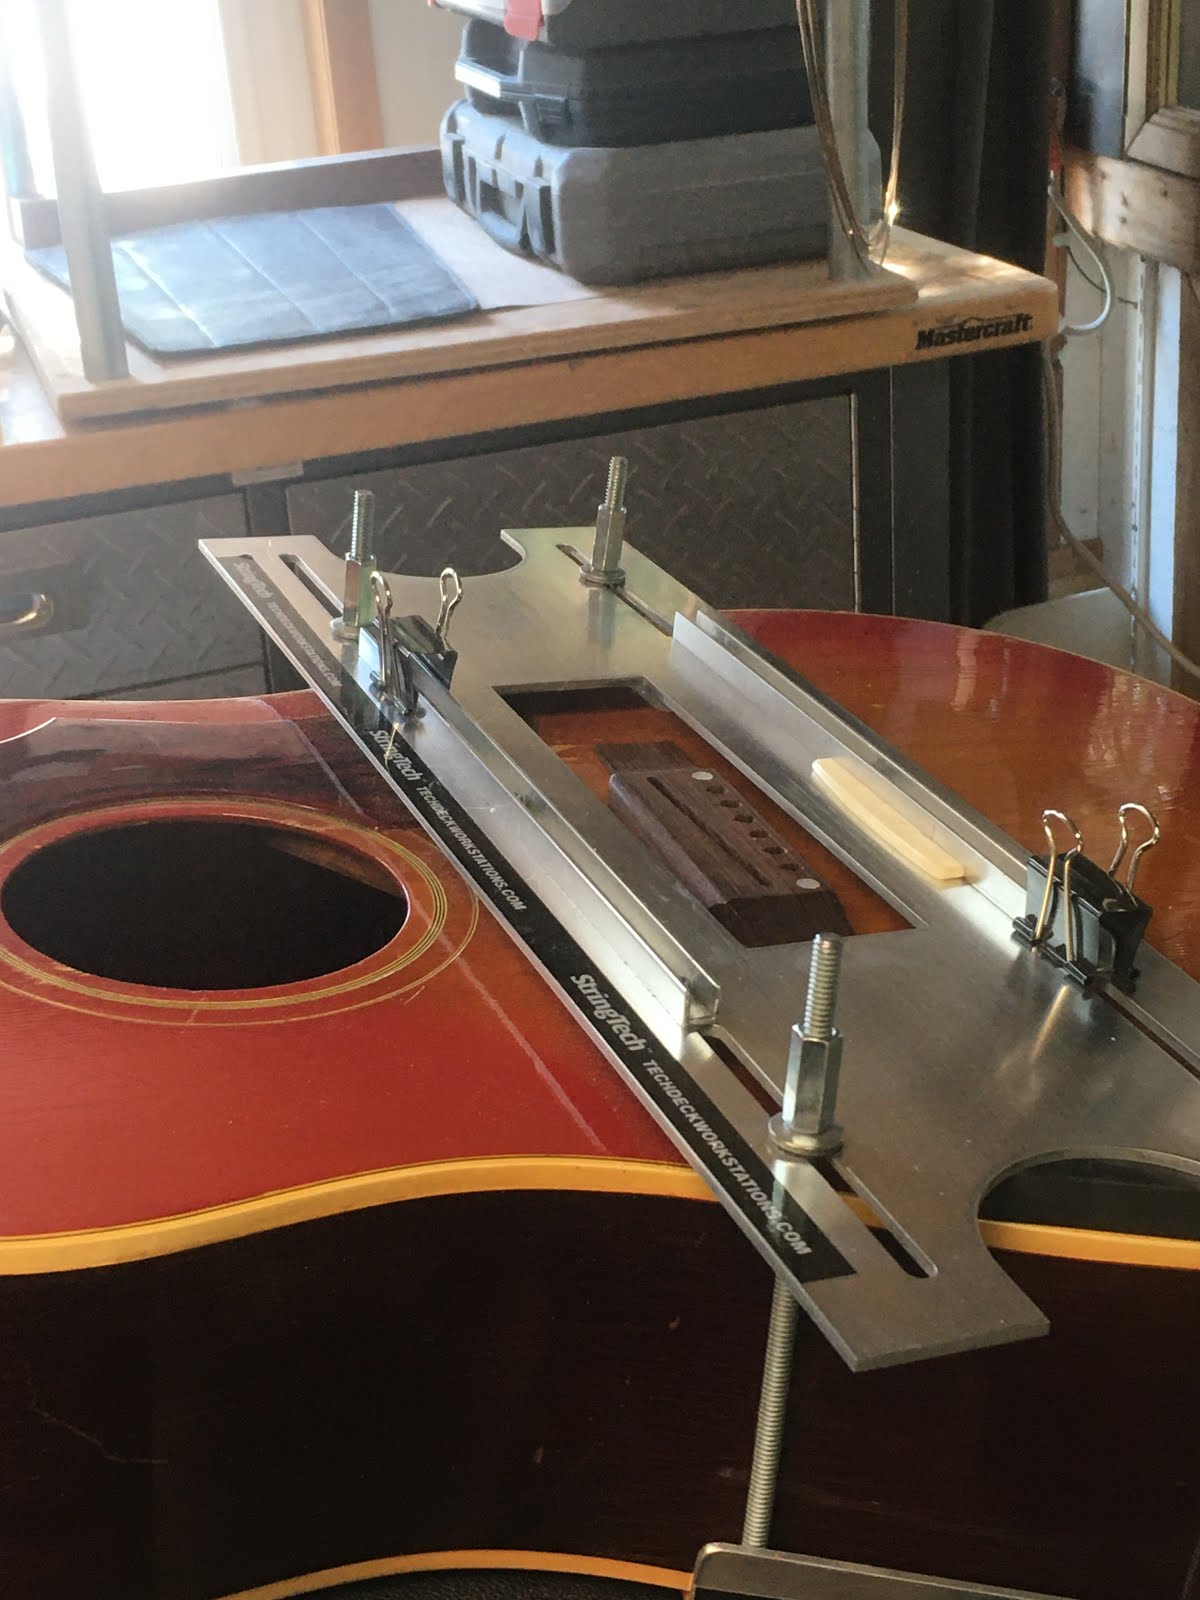
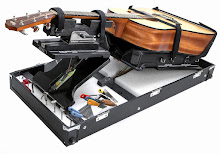
GPS Model TechDeck
Guitar Pro Shop "To Go" !


Contact : stringtech.net
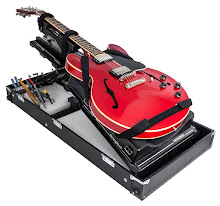
GPS Model TechDeck
Guitar Pro Shop "To Go" !


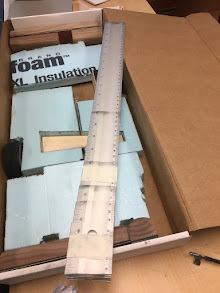
( Tools / Foam not included )


( Tools / Foam not included )


Steve Curtis Manchester UK Neck Surgery Wizard .... he's got it down to a Science.
Steve Curtis ( Manchester UK )
is still the "Go-to" Guy for
Neck Surgeries in the UK and EU !

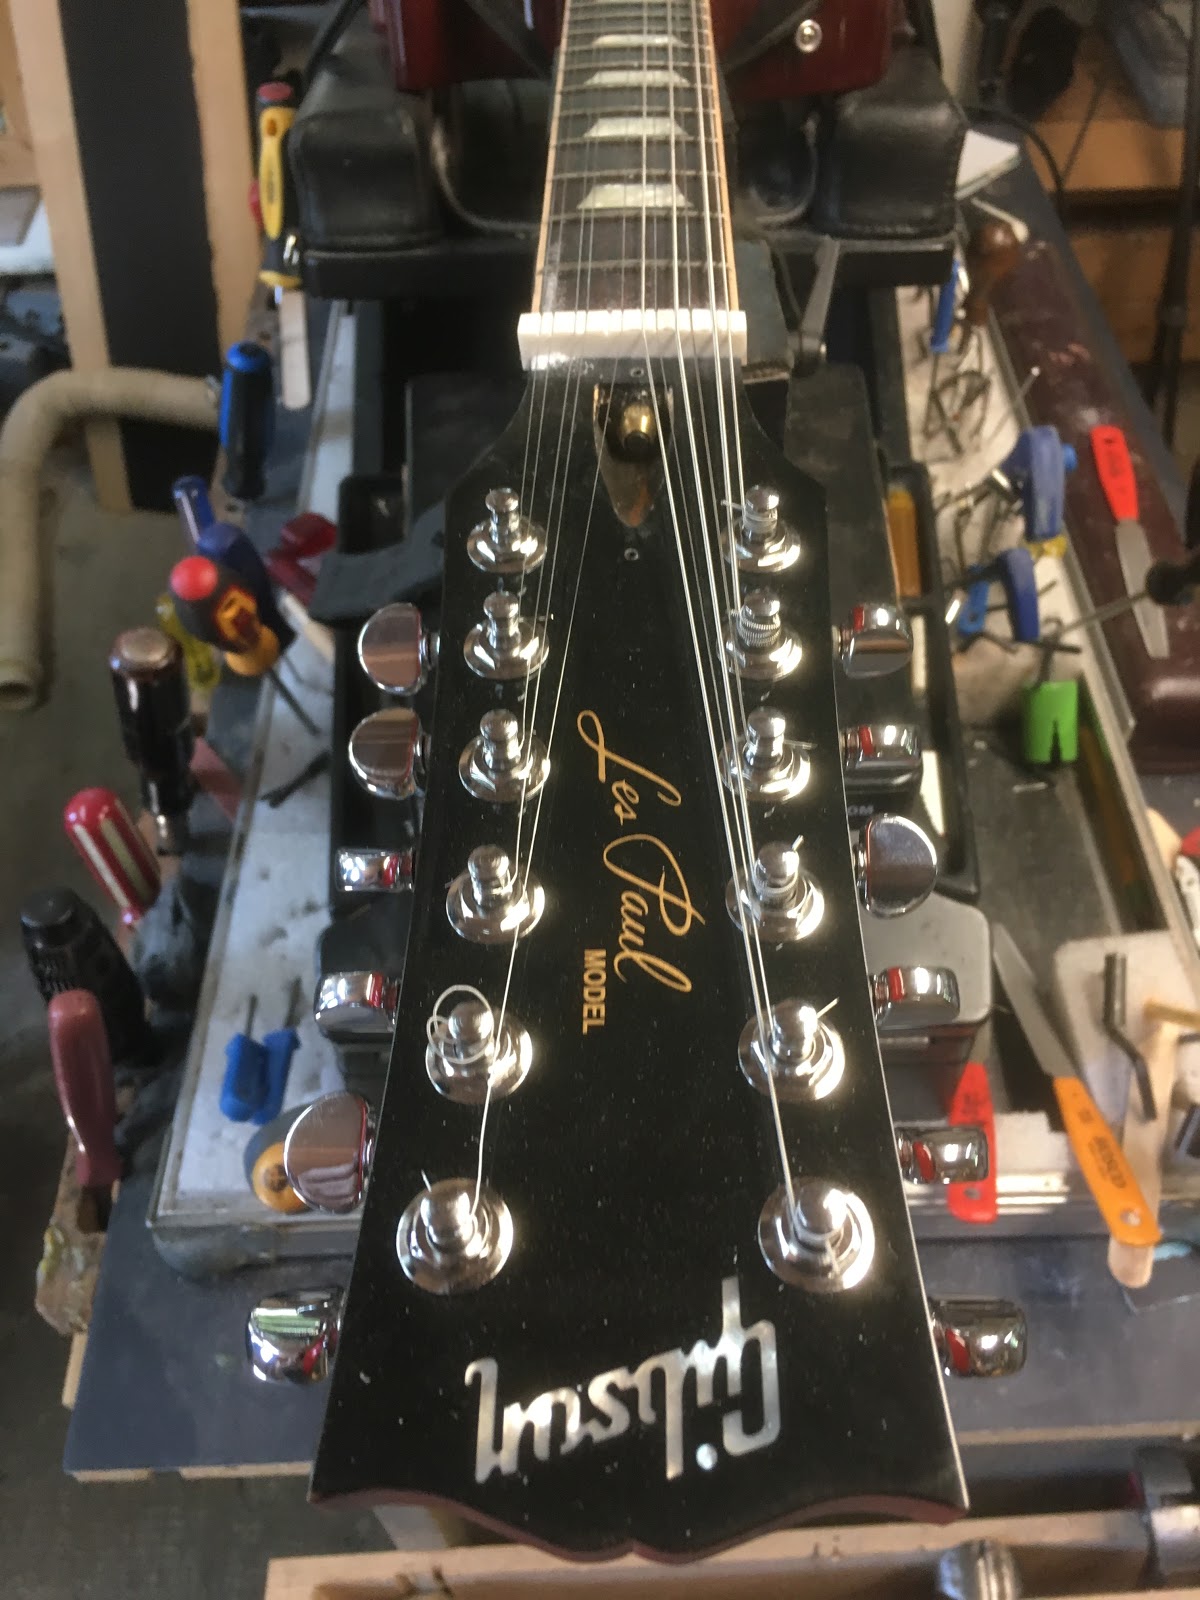
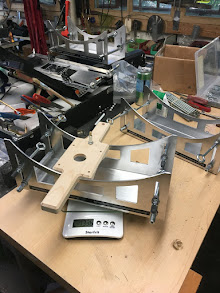
TechDeck "Swat Team" Loaded for Bear.

12 Les Paul Neck Surgery Videos
Welcome to my Blog !
Although the subject matter is the same;
these videos will cover every possible case scenario
from a split to a completely severed headstock.
Enjoy !
Michael
cover the cost, with the completion of one job.
For the Tech's that have already purchased
a TechDeck .... the NSK seamlessly slides onto the top platform for very quick setup and execution.
Others have"retro-fit" the NSK for their own shop setup; and used the neck surgery jobs to generate the purchase price of the TechDeck.
Ryan Kearny from Gibson Brands California /
Derek from Illinois / Jody from Reading Penn / Warren from Rock Springs Montana / Nick from Calgary Alberta
The Guitar Garage Paris France / Steve Curtis Manchester UK / Jeff Rice Atlanta Georgia / Peter Mecurio Mass./
Peter Green New Brunswick ..... and numerous others across the USA, Canada, Australia and the EU are getting consistent perfection ... as they address this very common repair task.
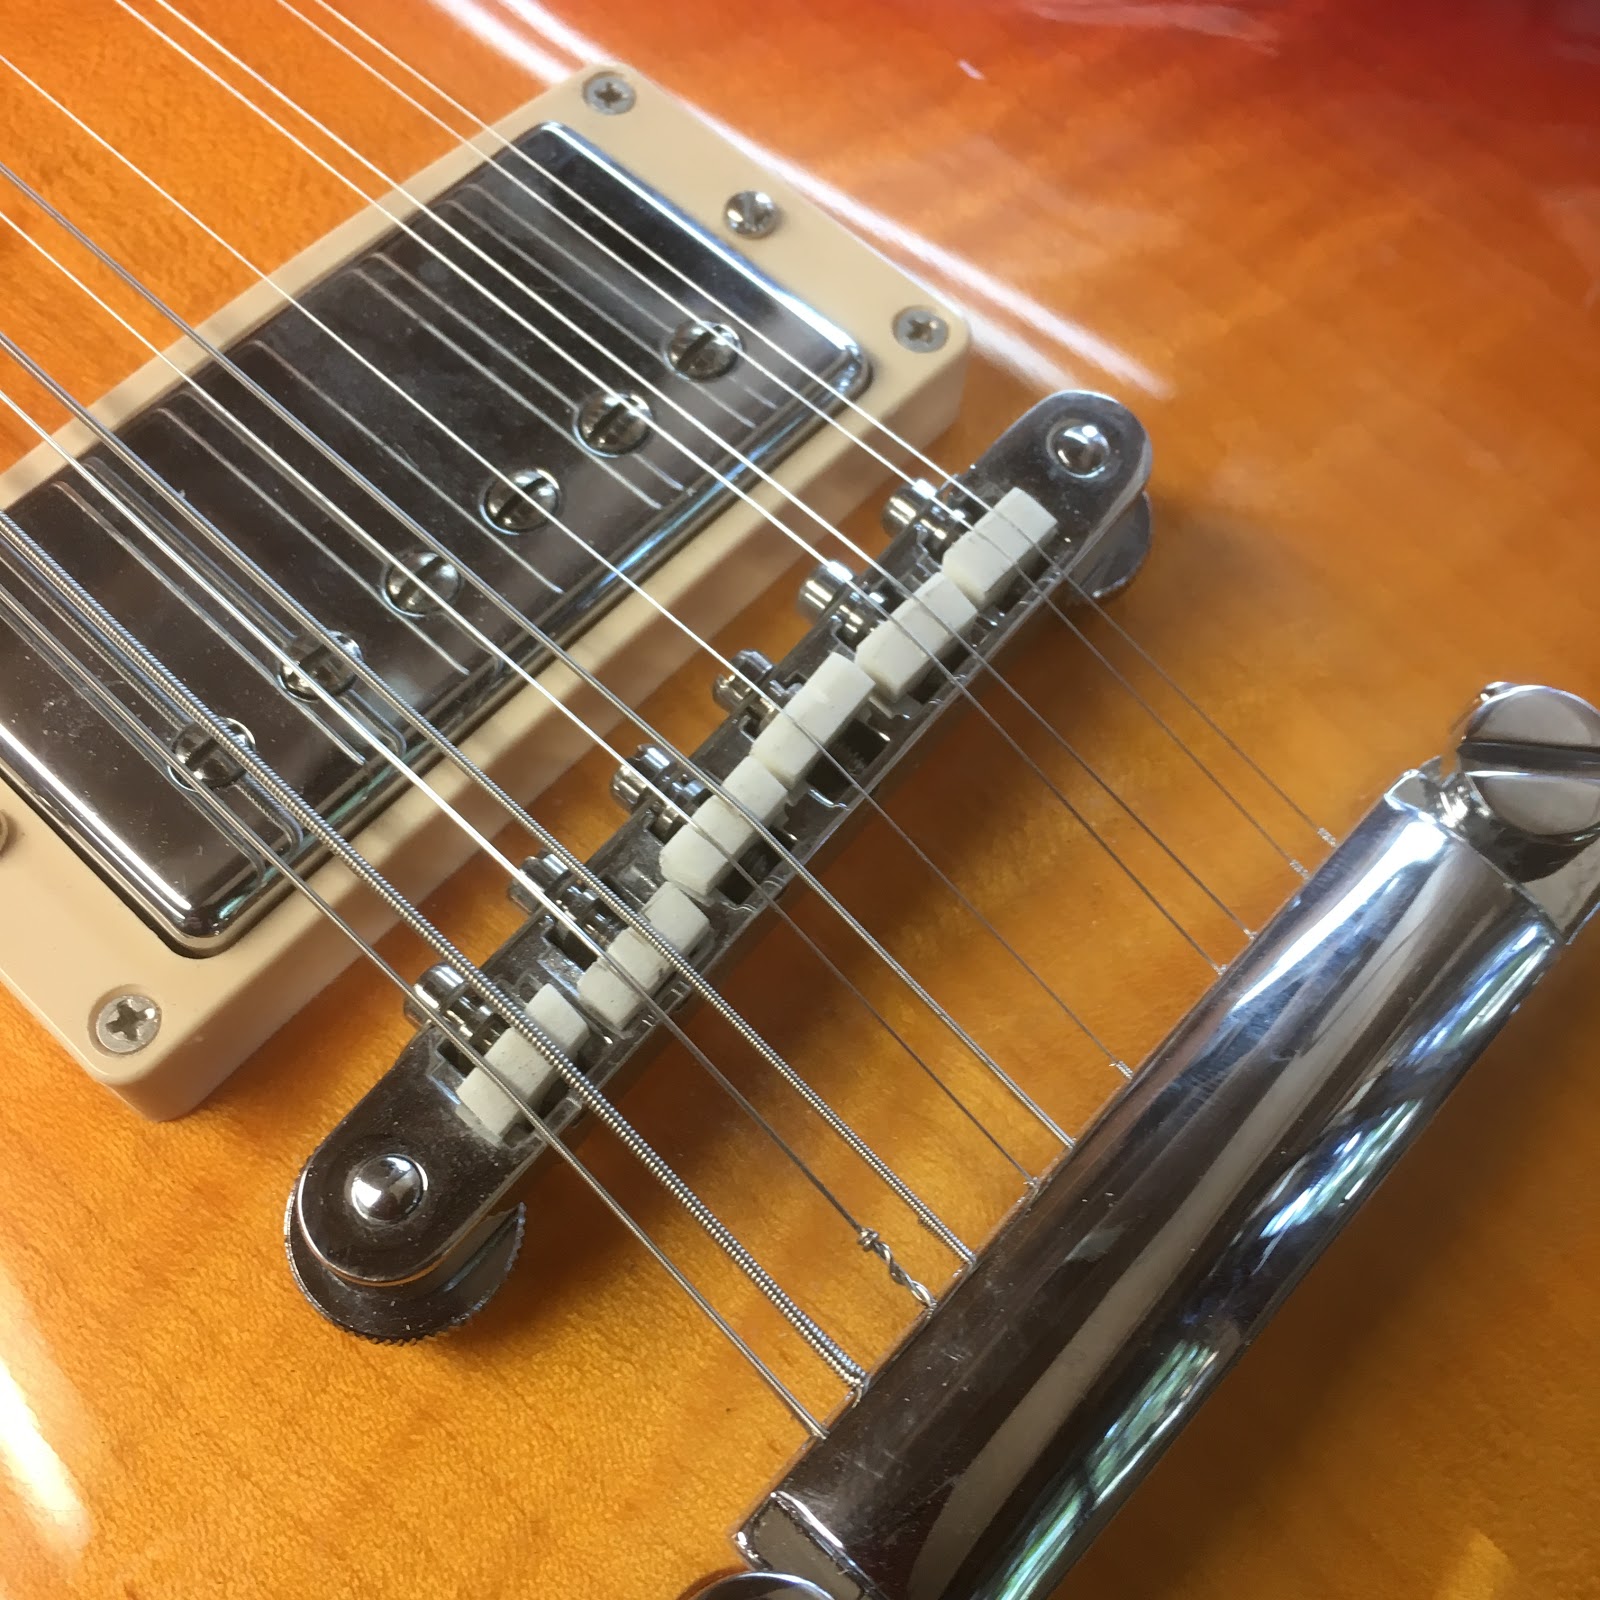
Understanding Fret Work
Buzzing Frets ?
CNC machines / Vices / Clamps
What you need to understand .....
check this step by step video:
check this step by step video:
Join me on Patreon for 100's of videos !
350 + Detailed Videos on Guitar Repair and Design
Michael McConville
Patreon
https://www.patreon.com/Guitarchitect
Over 300+ detailed videos
on every Job imaginable ....
for aspiring Guitar Techs
http://www.youtube.com/user/mcconvilleguitars
Firebird / Compensated Nut / Stringing Tips
"Getting the Goods" on Professional Guitar Repair
Thanks to all who have shown
their support
through my Patreon channel !
Become a patron
Lot's of more valuable information
is coming your way in 2019!
Stay tuned .... I've got your back \m/ !
https://youtu.be/DKnSawxcI5M
Patreon Channel for Detailed Repair Videos

Thomas Nordegg and Danny
backstage at the Steve Vai's
"Generation Axe" Tour
"Generation Axe" Tour

Harley Davidson Stratocaster
Full Detailed Video on Patreon

57 " Showster


Dayna's Dreadnought
Dayna's Dreadnought

Sterling Silver Headstock Trim
+ Curly Maple Logo
Brass Compensated Nut
Gold Grover Imperials

Top Bracing

Mahogany Back Rosewood Sides


Bear-Claw spruce soundboard
Ebony Fingerboard
Ebony bridge

Quilted Mahogany Back
Rosewood Sides
Quilted Mahogany overlay (back of headstock )

Subscribe to:
Posts (Atom)