Access the Full 300+ Video Library
1948' Martin 00-17
Restoration
This guitar was brought back from the brink of extinction.
One good thing about the guitar being un-playable for so long ...
there was plenty of meat left on the "Bar Fret" crowns.
A light fret dress and buff .... the original frets are now like brand new !
It is always wonderful, in the Spring, when
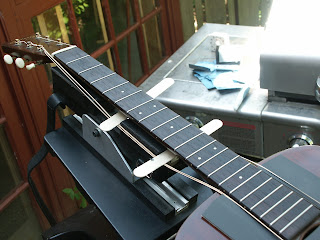
I get to work outside again, with the TechDeck
mounted on a B+D work-mate
just outside my workshop door !
Hey .... there's that hockey puck again !
I was into the quarter-finals on this repair
so I thought it'd be appropriate.
Working outside again ... under the honey-locust tree !!
This is the replacement bridge ( below ).
The original bridge was completely destroyed by
a series of previous horrific
repair attempts ( by others )
over the years.
I opted to put a compensated nut on the Ol' Girl ,
she deserved some extra pampering after the years of abuse.
The natural light is wonderful to work under,
after being couped up in the shop over the winter months !
Darcy did a wonderful job of restoring the finish.
We all know that it's a big no-no to mess with the original finish
but if you scroll down, you'll see how the horrible attempts
of poor repair work in the past had taken a toll on the
finish as well as the structure of this beautiful guitar.
This E-Bay purchase that was a
bit of a deception for the purchaser.
When gluing the bridge to the soundboard,
I left the inside bridge pins holes ( not drilled )
to insure the maximum wood to wood contact.
The two outside holes are through-drilled
so that the bridge pins can be used as "indexing pins"
to prevent the bridge from "drifting" ,
on the bed of glue, under clamping pressure.
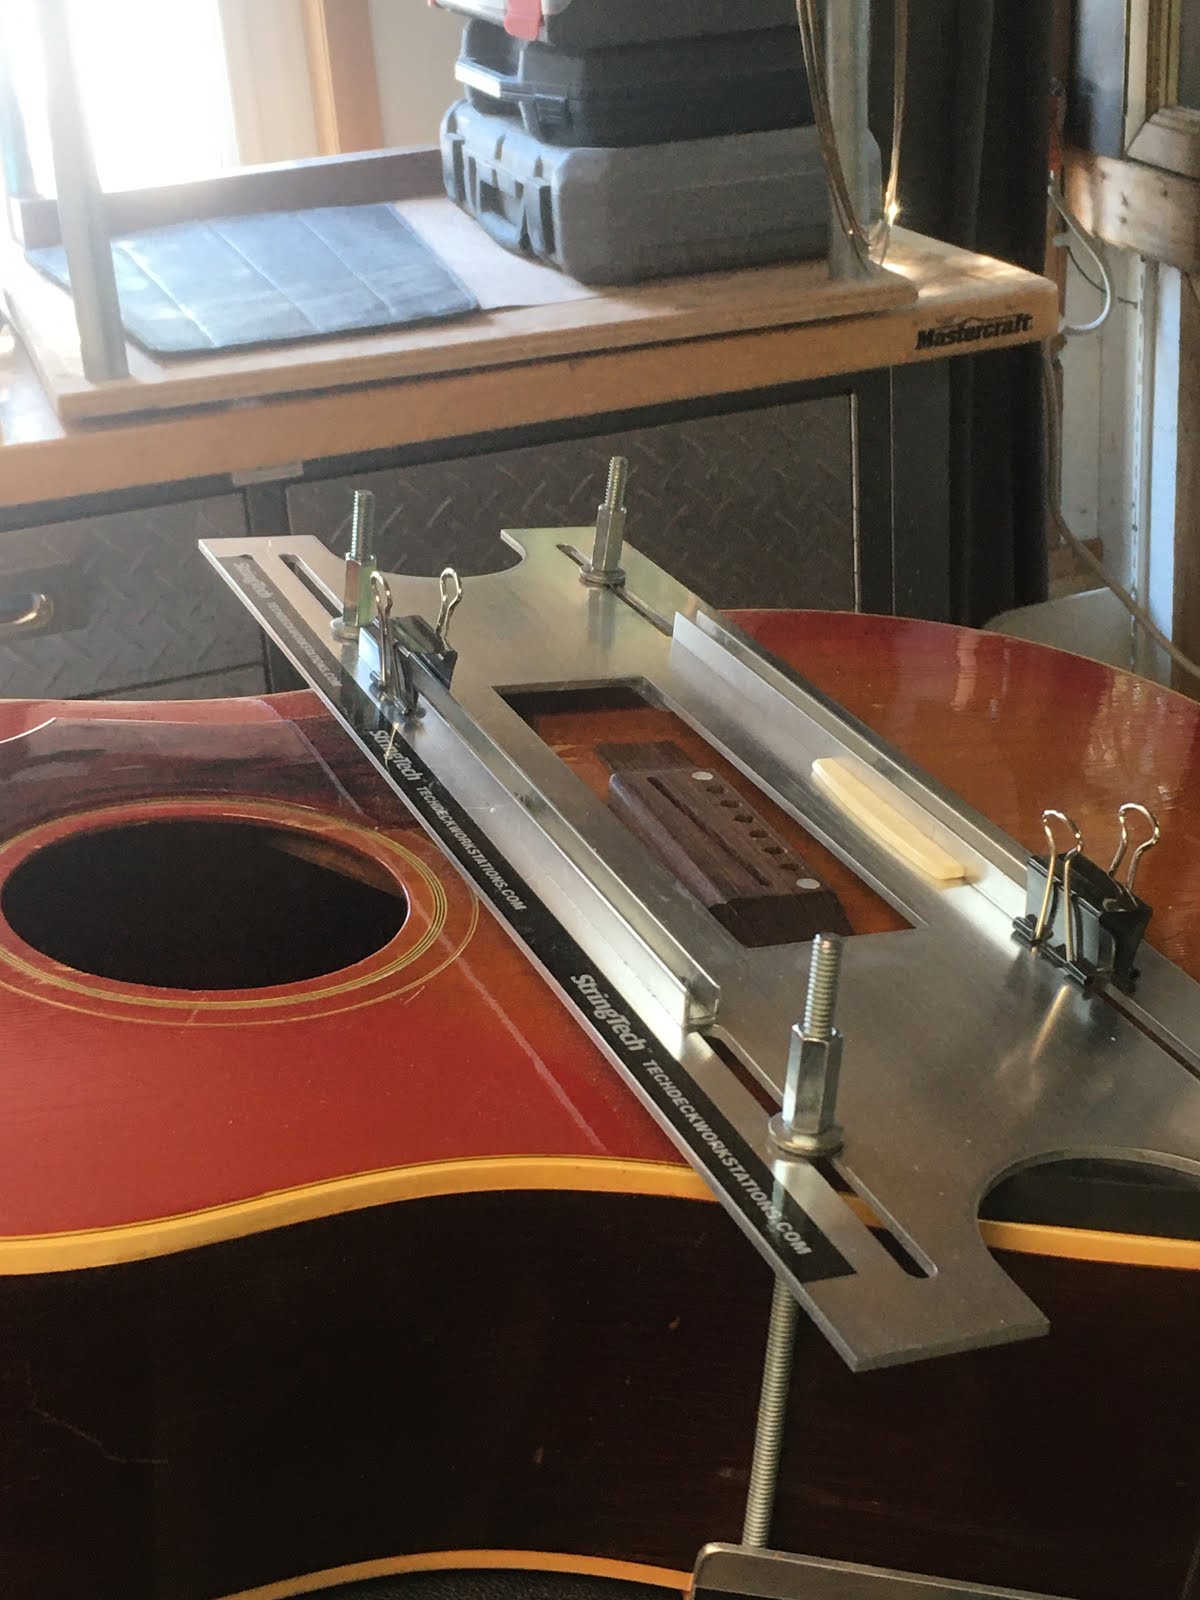
Below is the setup that I use for milling the bridge slots.
I prefer to use a "Bosch Colt" Palm-router ( 1 HP )
as opposed to a Dremel (1/16 th HP ).
This makes for a super clean cut and a nice flat milled slot
for a good solid "press-fit" saddle.
I have since refined this approach and
now offer an updated version of the
bridge slotting jig to my students
and anyone else who is interested.
Upon removal of the original bridge; to my horror ,
there was a gaping hole in the soundboard that I filled with
a slip of mahogany. Half of the bridge plate was also missing,
so I fabricated a replacement bridge plate along with the new bridge
and solid 5/64" thick mahogany top veneer inlay.
We now have 100% solid contact. I was very careful not to
add any mass to the guitar during this restoration.
The lightness of construction has a lot to do with the
snappy attack that this instrument inherently possesses.
There were a couple of crack repairs that were well executed
in the past by someone that actually knew what they were doing.
The cracked original guitar bridge was glued on
( very poorly )with marine epoxy !!!
Miraculously; after some gentle heating and
a surgically sharp probe,
I managed to slip the bridge off,
right on the glue line, only to discover the
gaping hole left by the person who used the marine epoxy.
This is what the guitar looked like before restoration.
It had seen some water damage as well as
being subjected to some trauma and
and an amateur finishing attempt.
The most important thing, is that the guitar now plays better
than ever, with surgically accurate intonation and a smooth silky touch.
The voice, playability and hand rubbed lacquered finish
have now been completely restored.
It was set up for D'Addario Custom Lites .
.011"-.052" at concert pitch.


